JabberJaw – Convert your Router to a Portable Network Attack Device!
In this article I will explain how it is possible to convert any OpenWrt compatible router to a Hak5 Shark Jack device, effectively turning it into your very own portable network attack device!
To quickly explain what is the Hak5 Shark Jack device, it is kind of a smart Ethernet key that contains a male Ethernet port and a small battery. Once plugged into a switch, (or any female Ethernet port) a payload stored in the key will automatically be triggered to scan the entire network for example. The payload by default is a Nmap script, but there are a lot of other scripts developed and maintained by the Hak5 community which can be used. Check them out here if interested: https://github.com/hak5/sharkjack-payloads
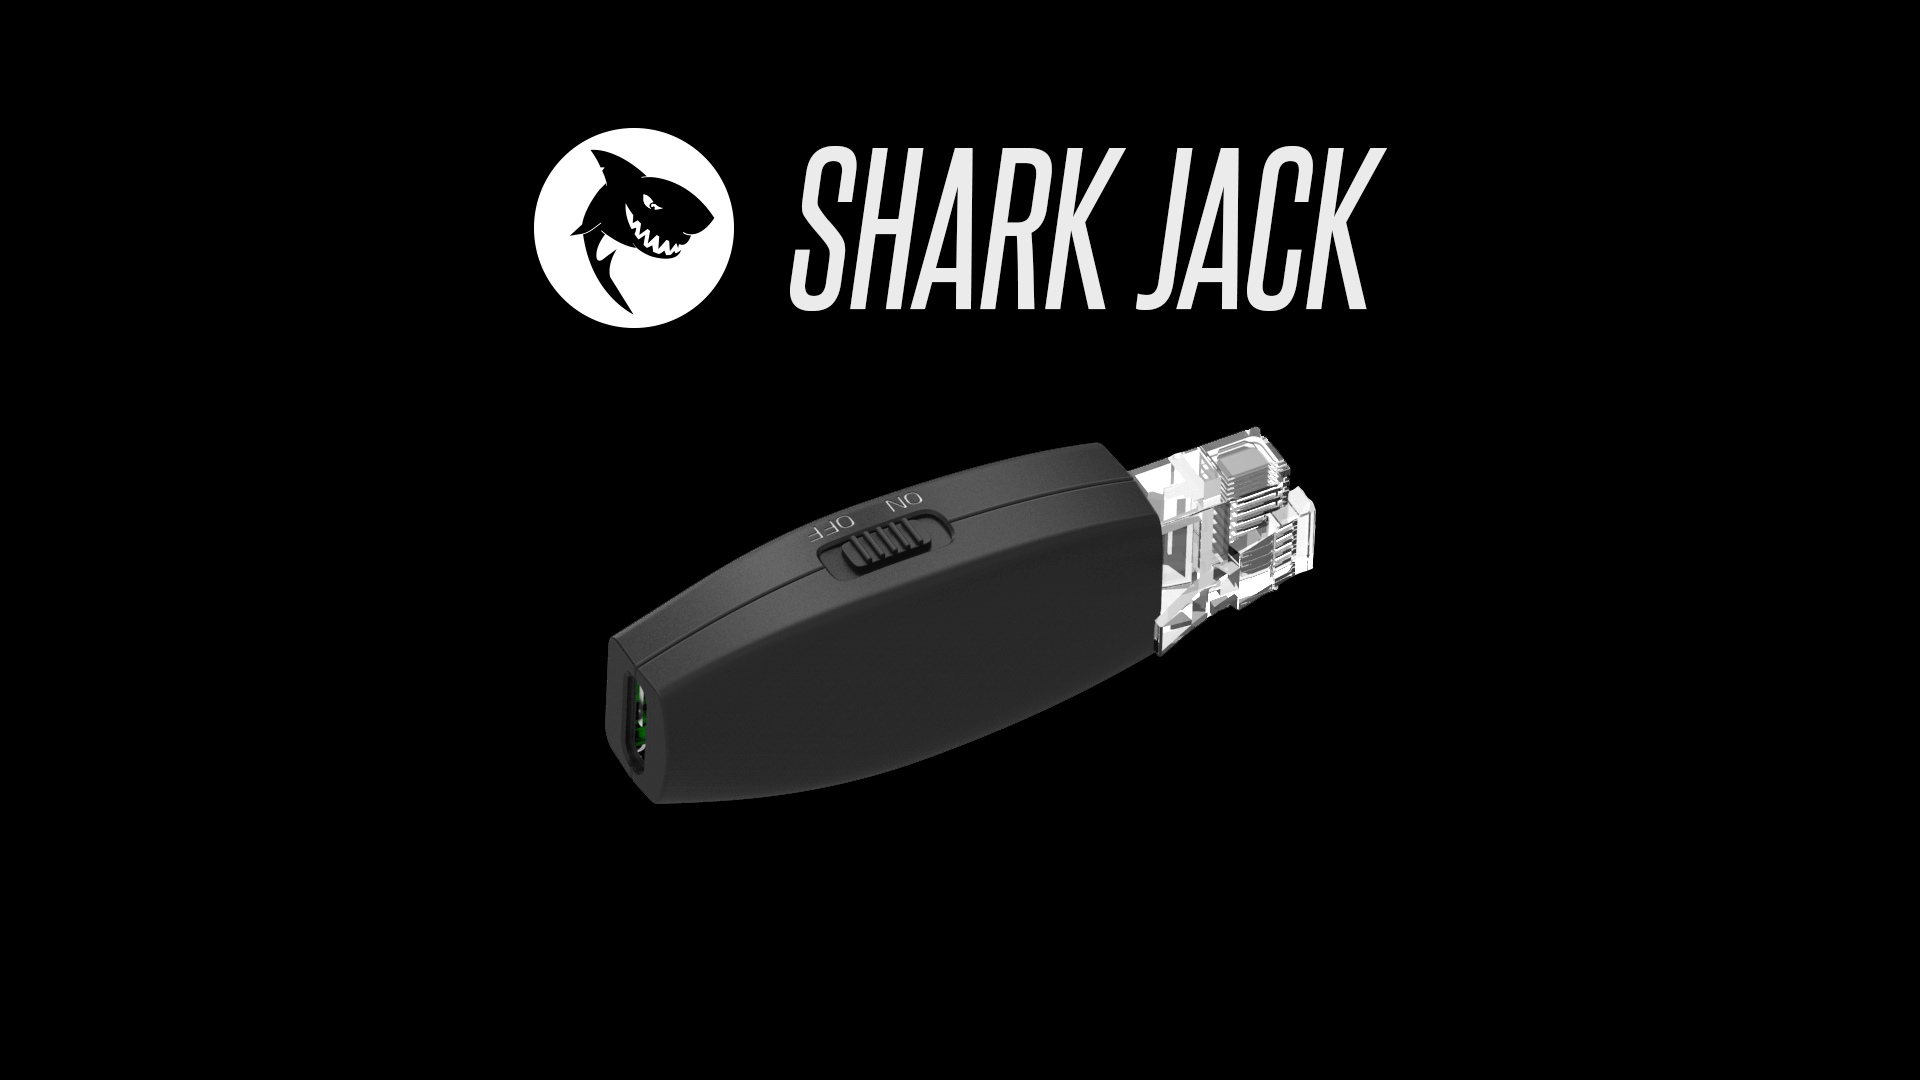
The idea to turn your device into a portable network attack device is a quite simple but very powerful thing that can be done. Since this tool is based on the OpenWrt project, it is very easy to re-code and make it compatible with any router which is a big plus.
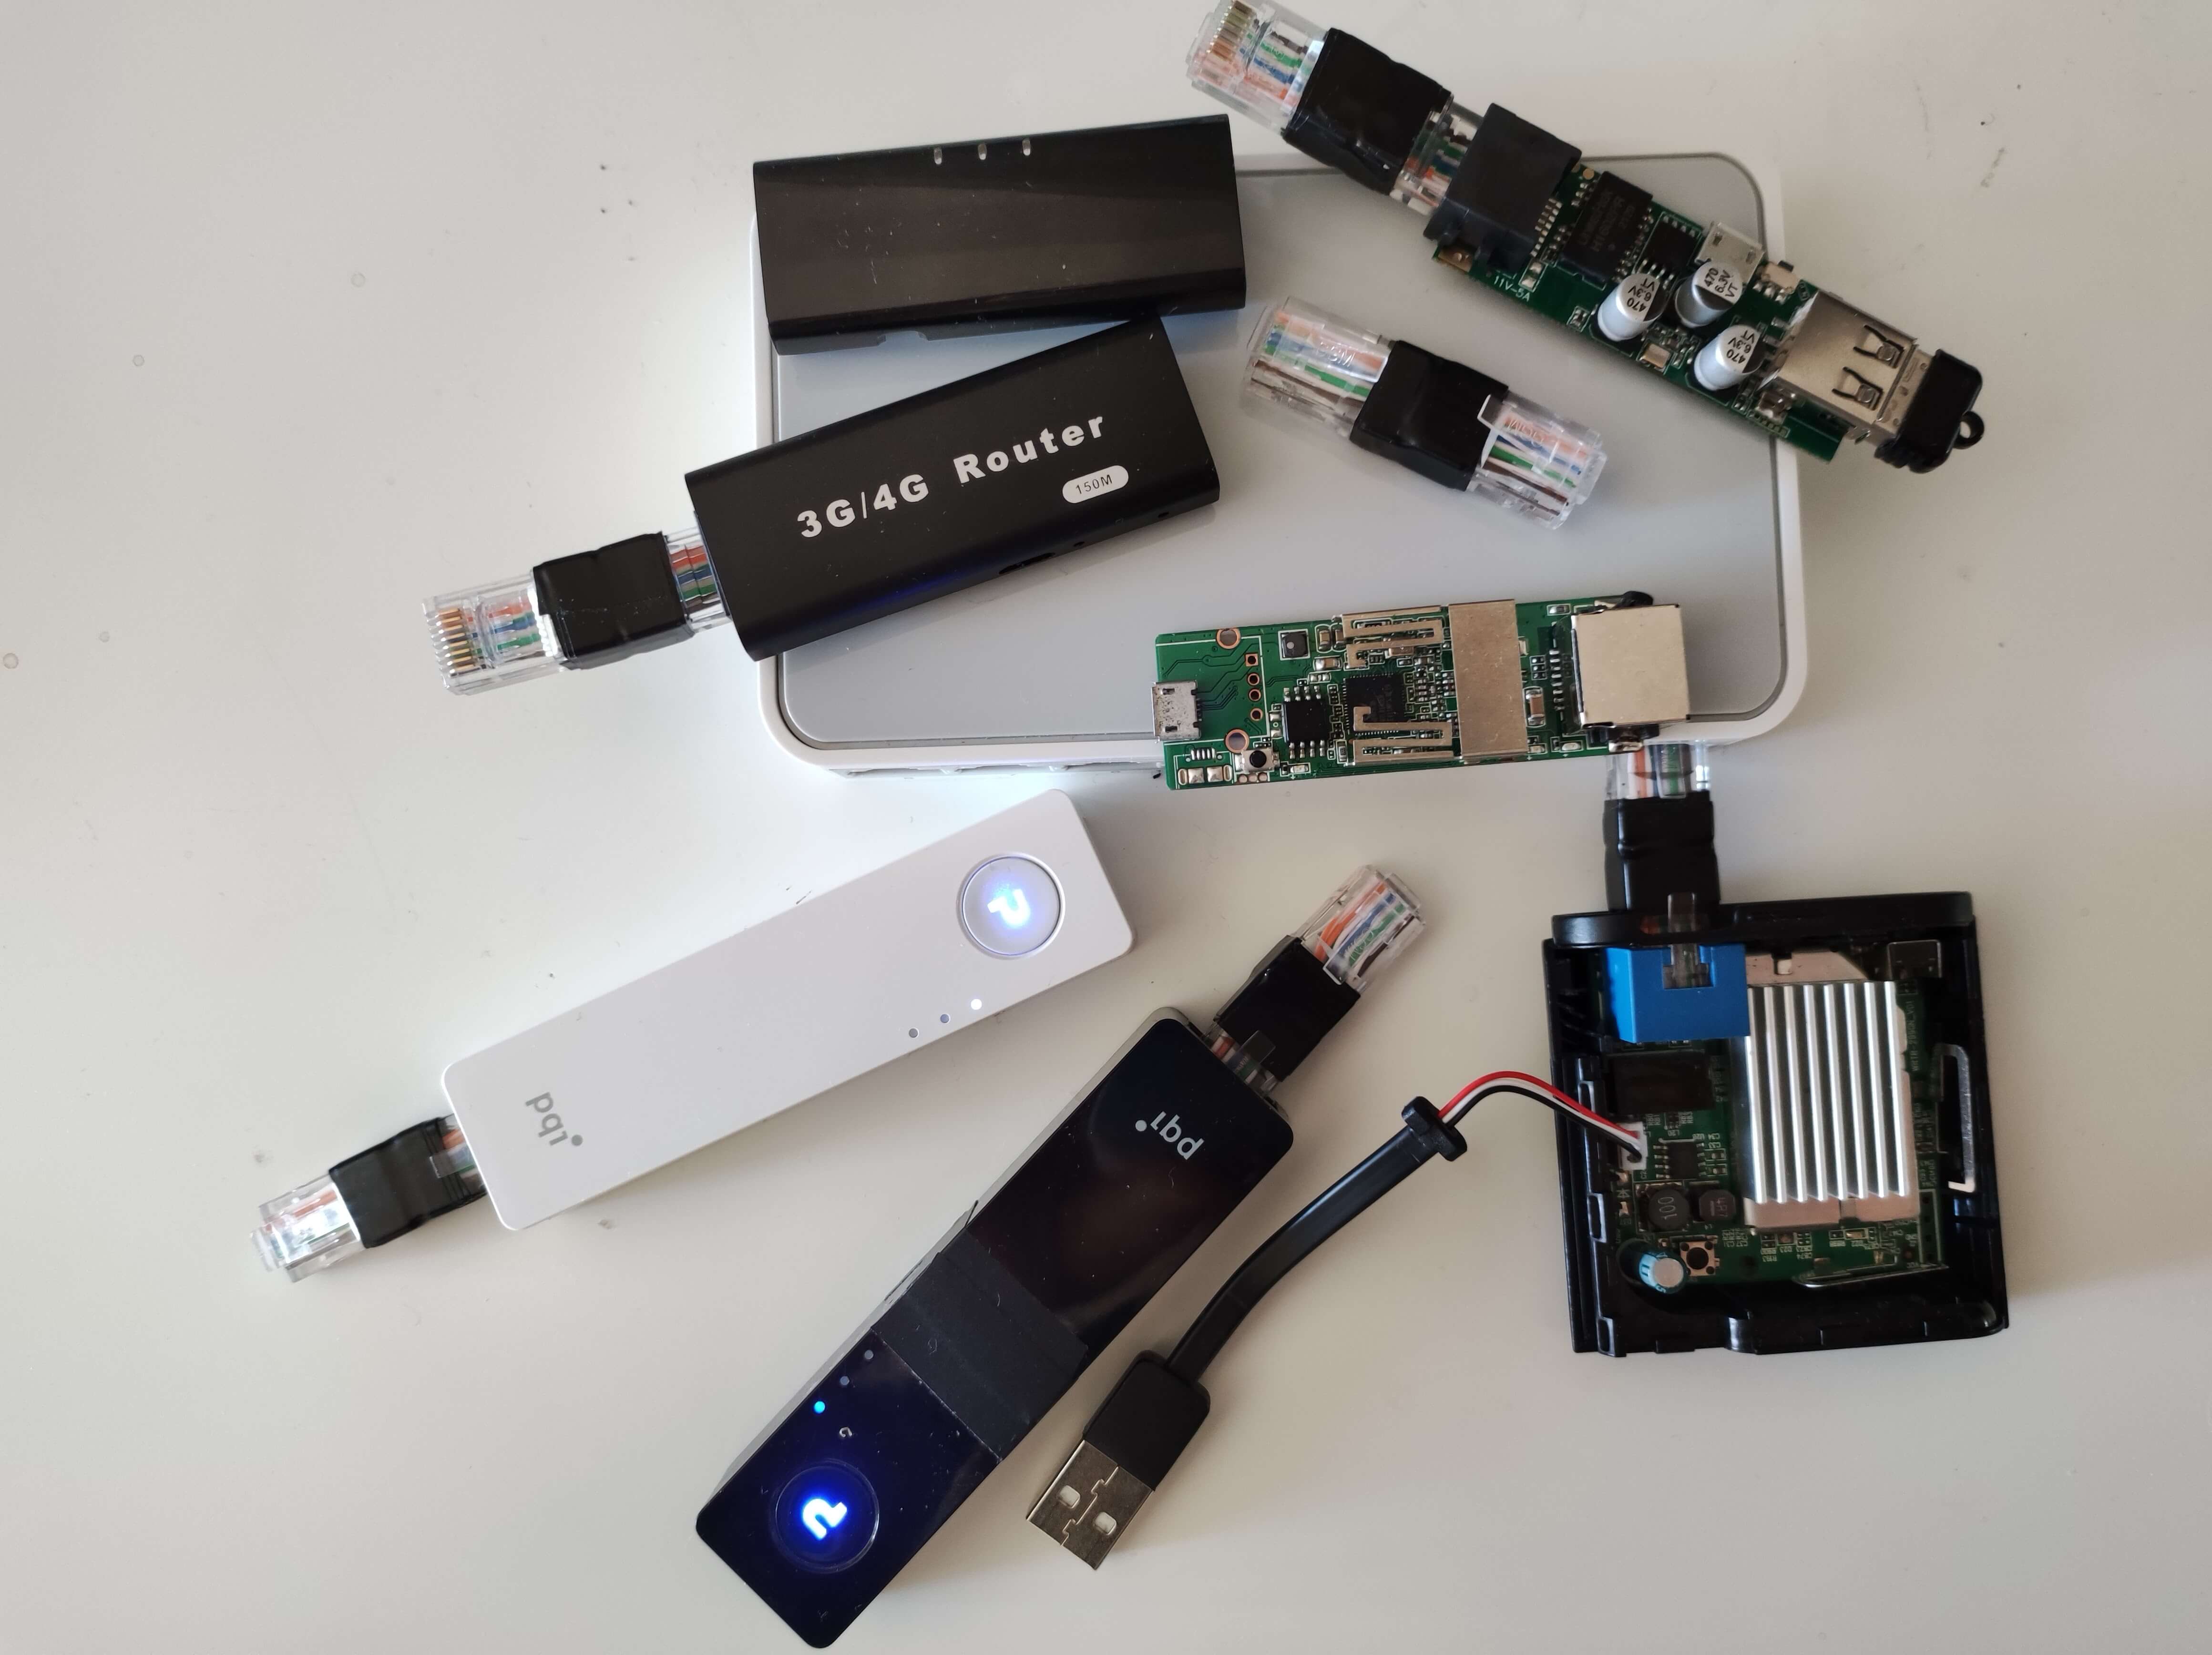
Before we get into the technical details, here is a list of routers that I would like to recommend. These are small devices that are easy to carry and even have a built-in battery which is useful for convenience.
| CPU (MHZ) | Flash (MB) | RAM (MB) | Battery | More info | |
|---|---|---|---|---|---|
| PQI AirPen (A400) | 400 | 8 | 64 | Yes (450mah) | https://openwrt.org/toh/hwdata/pqi/pqi_air_pen |
| MPR-A1 (MPR-A2) | 360 | 4 | 16 | Yes (1800mah) | https://openwrt.org/toh/hame/mpr-a1 |
| A5-V11 | 360 | 4 | 16 | No | https://openwrt.org/toh/unbranded/a5-v11 |
| Buffalo WMR-300 | 580 | 8 | 64 | No | https://openwrt.org/toh/buffalo/wmr-300 |
| Elecom WRH-300CR | 580 | 16 | 64 | No (But small battery can be soldered) | https://openwrt.org/toh/hwdata/elecom/elecom_wrh-300cr |
| VoCore2 | 580 | 16 | 128 | No (But small battery can be soldered) | https://openwrt.org/toh/hwdata/vocore/vocore_vocore2 |
Of course, we are not limited to these routers and it can work with any other device as long as it is OpenWrt compatible.
Optional Step
Another thing I would like to mention, since routers usually don't have a built-in male Ethernet port, it is possible to create a double-sided male mini Ethernet cable to have something that resembles the Shark Jack device.
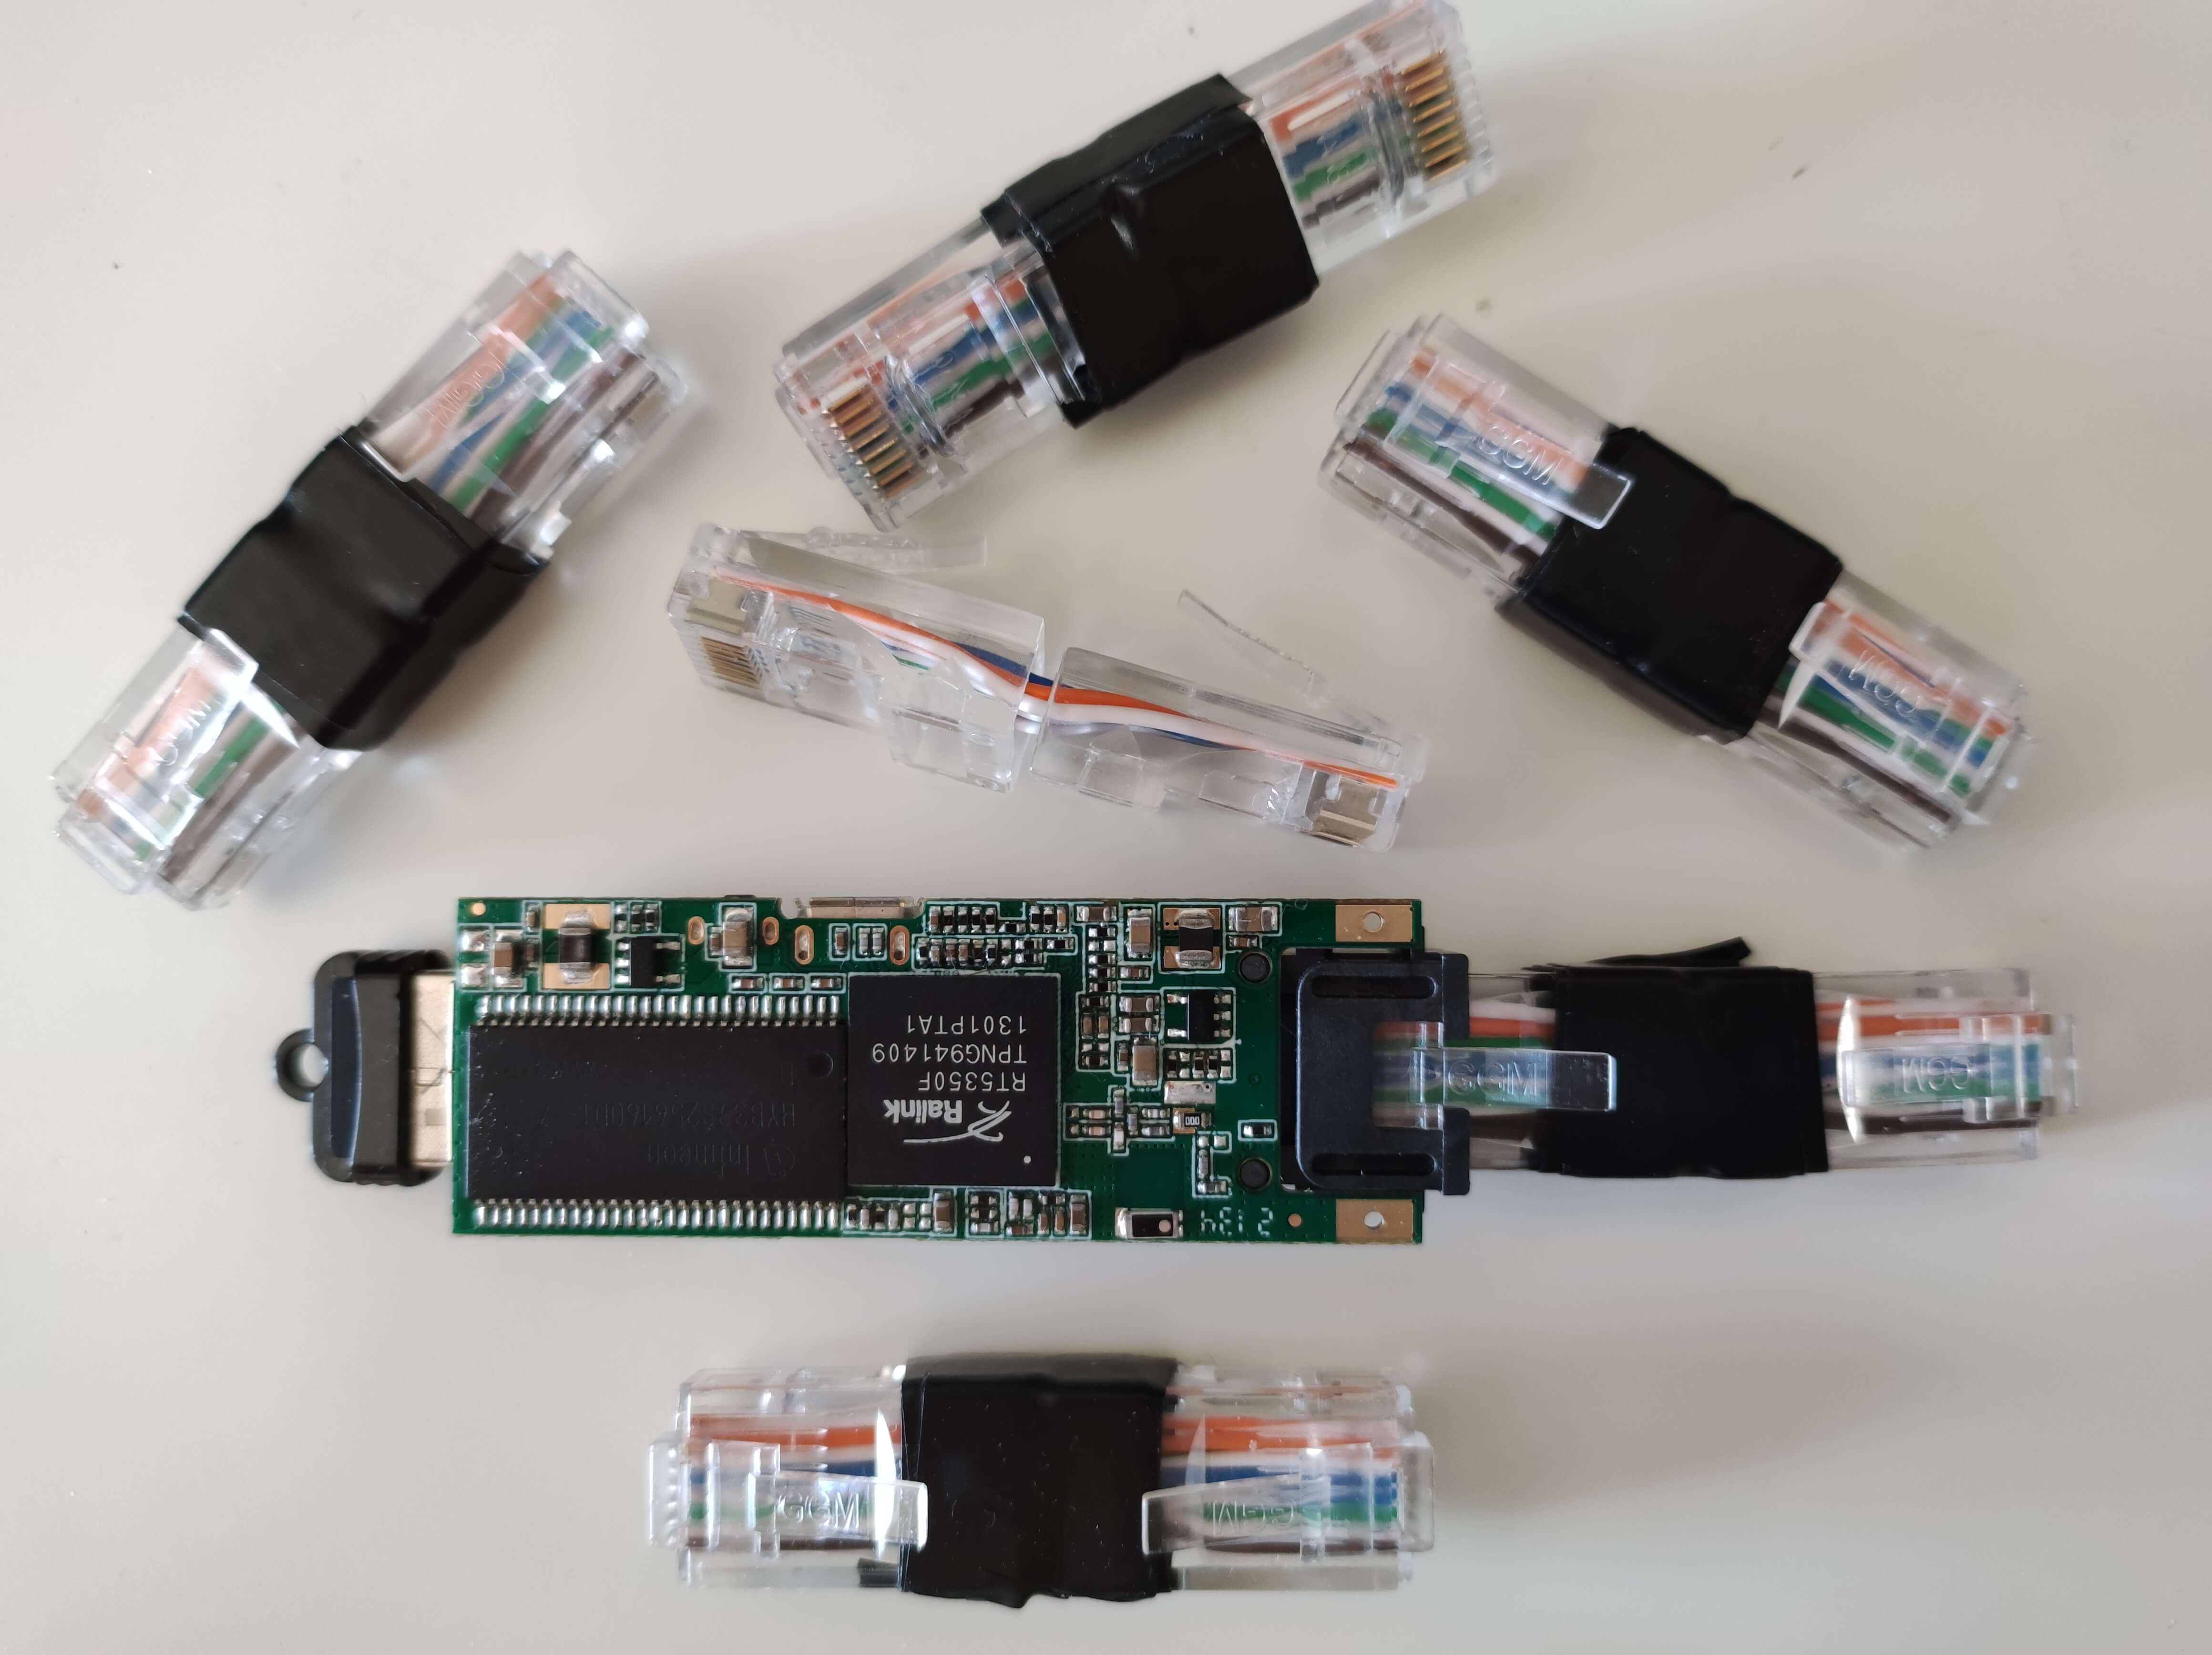
For this, you will need an unshielded twisted pair (UTP) patch cable, a modular connector (8P8C plug, aka RJ45), a crimping tool, and a cable tester (optional, but recommended!). Google and YouTube are your friends!
Build Your Own JabberJaw Firmware.
To make it easy, I created a GitLab repository that contains all the files needed to easily generate your own custom firmware.
GitLab Repo: https://gitlab.com/0xSamy/jabberjaw
Let’s clone the repo:
git clone https://gitlab.com/0xSamy/jabberjaw
cd JabberJaw
The next step is to check the composition of the router on which you want to build your firmware. To do this, the official website https://openwrt.org/ is your friend.
Check if your router has more than 8MB of flash memory or 4MB (This will be useful information for the rest of the installation as the procedure is not the same for both).
Then you have to check the processor architecture of your router. For example, check the following: mipsel_24kc, ipq806x, arm_cortex-a5_vfpv4, etc. Once the right architecture is found for your device, you will also have to download the image builder associated with it.
Try to use the firmware version 18.06.9 which is the most up-to-date and closest to the original Shark Jack firmware.
wget https://downloads.openwrt.org/releases/18.06.9/targets/ar71xx/generic/openwrt-imagebuilder-18.06.9-ramips-mt7620.Linux-x86_64.tar.xz
tar xJf openwrt-imagebuilder-18.06.9-ramips-mt7620.Linux-x86_64.tar.xz
Now we
need to modify the script /usr/bin/LED and add it to our firmware.
For information purposes, the LED script is a bash script created by Hak5 to easily manage and operate with the router's LEDs during the execution of a payload. With this, we can then see if the payload is running or if the execution of the payload has completed.
#!/bin/bash
# Original Shark Jack leds path
RED_LED="/sys/class/leds/shark:red:system/brightness"
GREEN_LED="/sys/class/leds/shark:green:system/brightness"
BLUE_LED="/sys/class/leds/shark:blue:system/brightness"

# Example with Buffalo WMR-300 leds path
# Replace those 3 variables to make it compatible
# with the LED of your device.
RED_LED="/sys/class/leds/wmr-300:red:aoss/brightness"
GREEN_LED="/sys/class/leds/wmr-300:green:aoss/brightness"
BLUE_LED="/sys/class/leds/wmr-300:green:status/brightness"
If your device has only two LED's, there is no need to worry as you can put the same path twice for one of the LED's. It will still work.
To find the exact path of your device LEDs you can use the following GitLab repo: https://gitlab.iet-gibb.ch/sascha.paunovic/openwrt/-/tree/2f757f60355d1ae9874590dcf92eaafd046fc831/target/linux.
That's it! Now we can build our image.
If your router has 8MB of memory flash or more:
cd openwrt-imagebuilder-18.06.9-ramips-mt7620.Linux-x86_64
make image PROFILE=wmr-300 PACKAGES="base-files busybox dnsmasq dropbear firewall fstools bash coreutils-sleep -ip6tables iptables kernel kmod-gpio-button-hotplug kmod-ipt-offload kmod-leds-gpio kmod-mt76 kmod-rt2800-pci kmod-rt2800-soc libc libgcc logd mtd netifd odhcp6c -odhcpd-ipv6only opkg swconfig uci uclient-fetch wpad-mini nmap macchanger -luci" FILES=../default/8MB+/
If your router has 4MB of flash memory, the make command with the packages to install is a bit different. Since there is not enough space with 4MB to install Nmap, the trick is to insert a USB drive into the router to extend the root partition and be able to install the packages that take up a lot of space.
4MB device make command:
make image PROFILE=a5-v11 PACKAGES="block-mount kmod-usb-storage kmod-usb-core kmod-usb2 kmod-fs-ext4 coreutils-sleep swconfig -ppp-mod-pppoe -ip6tables -luci -ppp -odhcpd-ipv6only -kmod-ip6tables -libuci -ppp" FILES=../default/4MB/
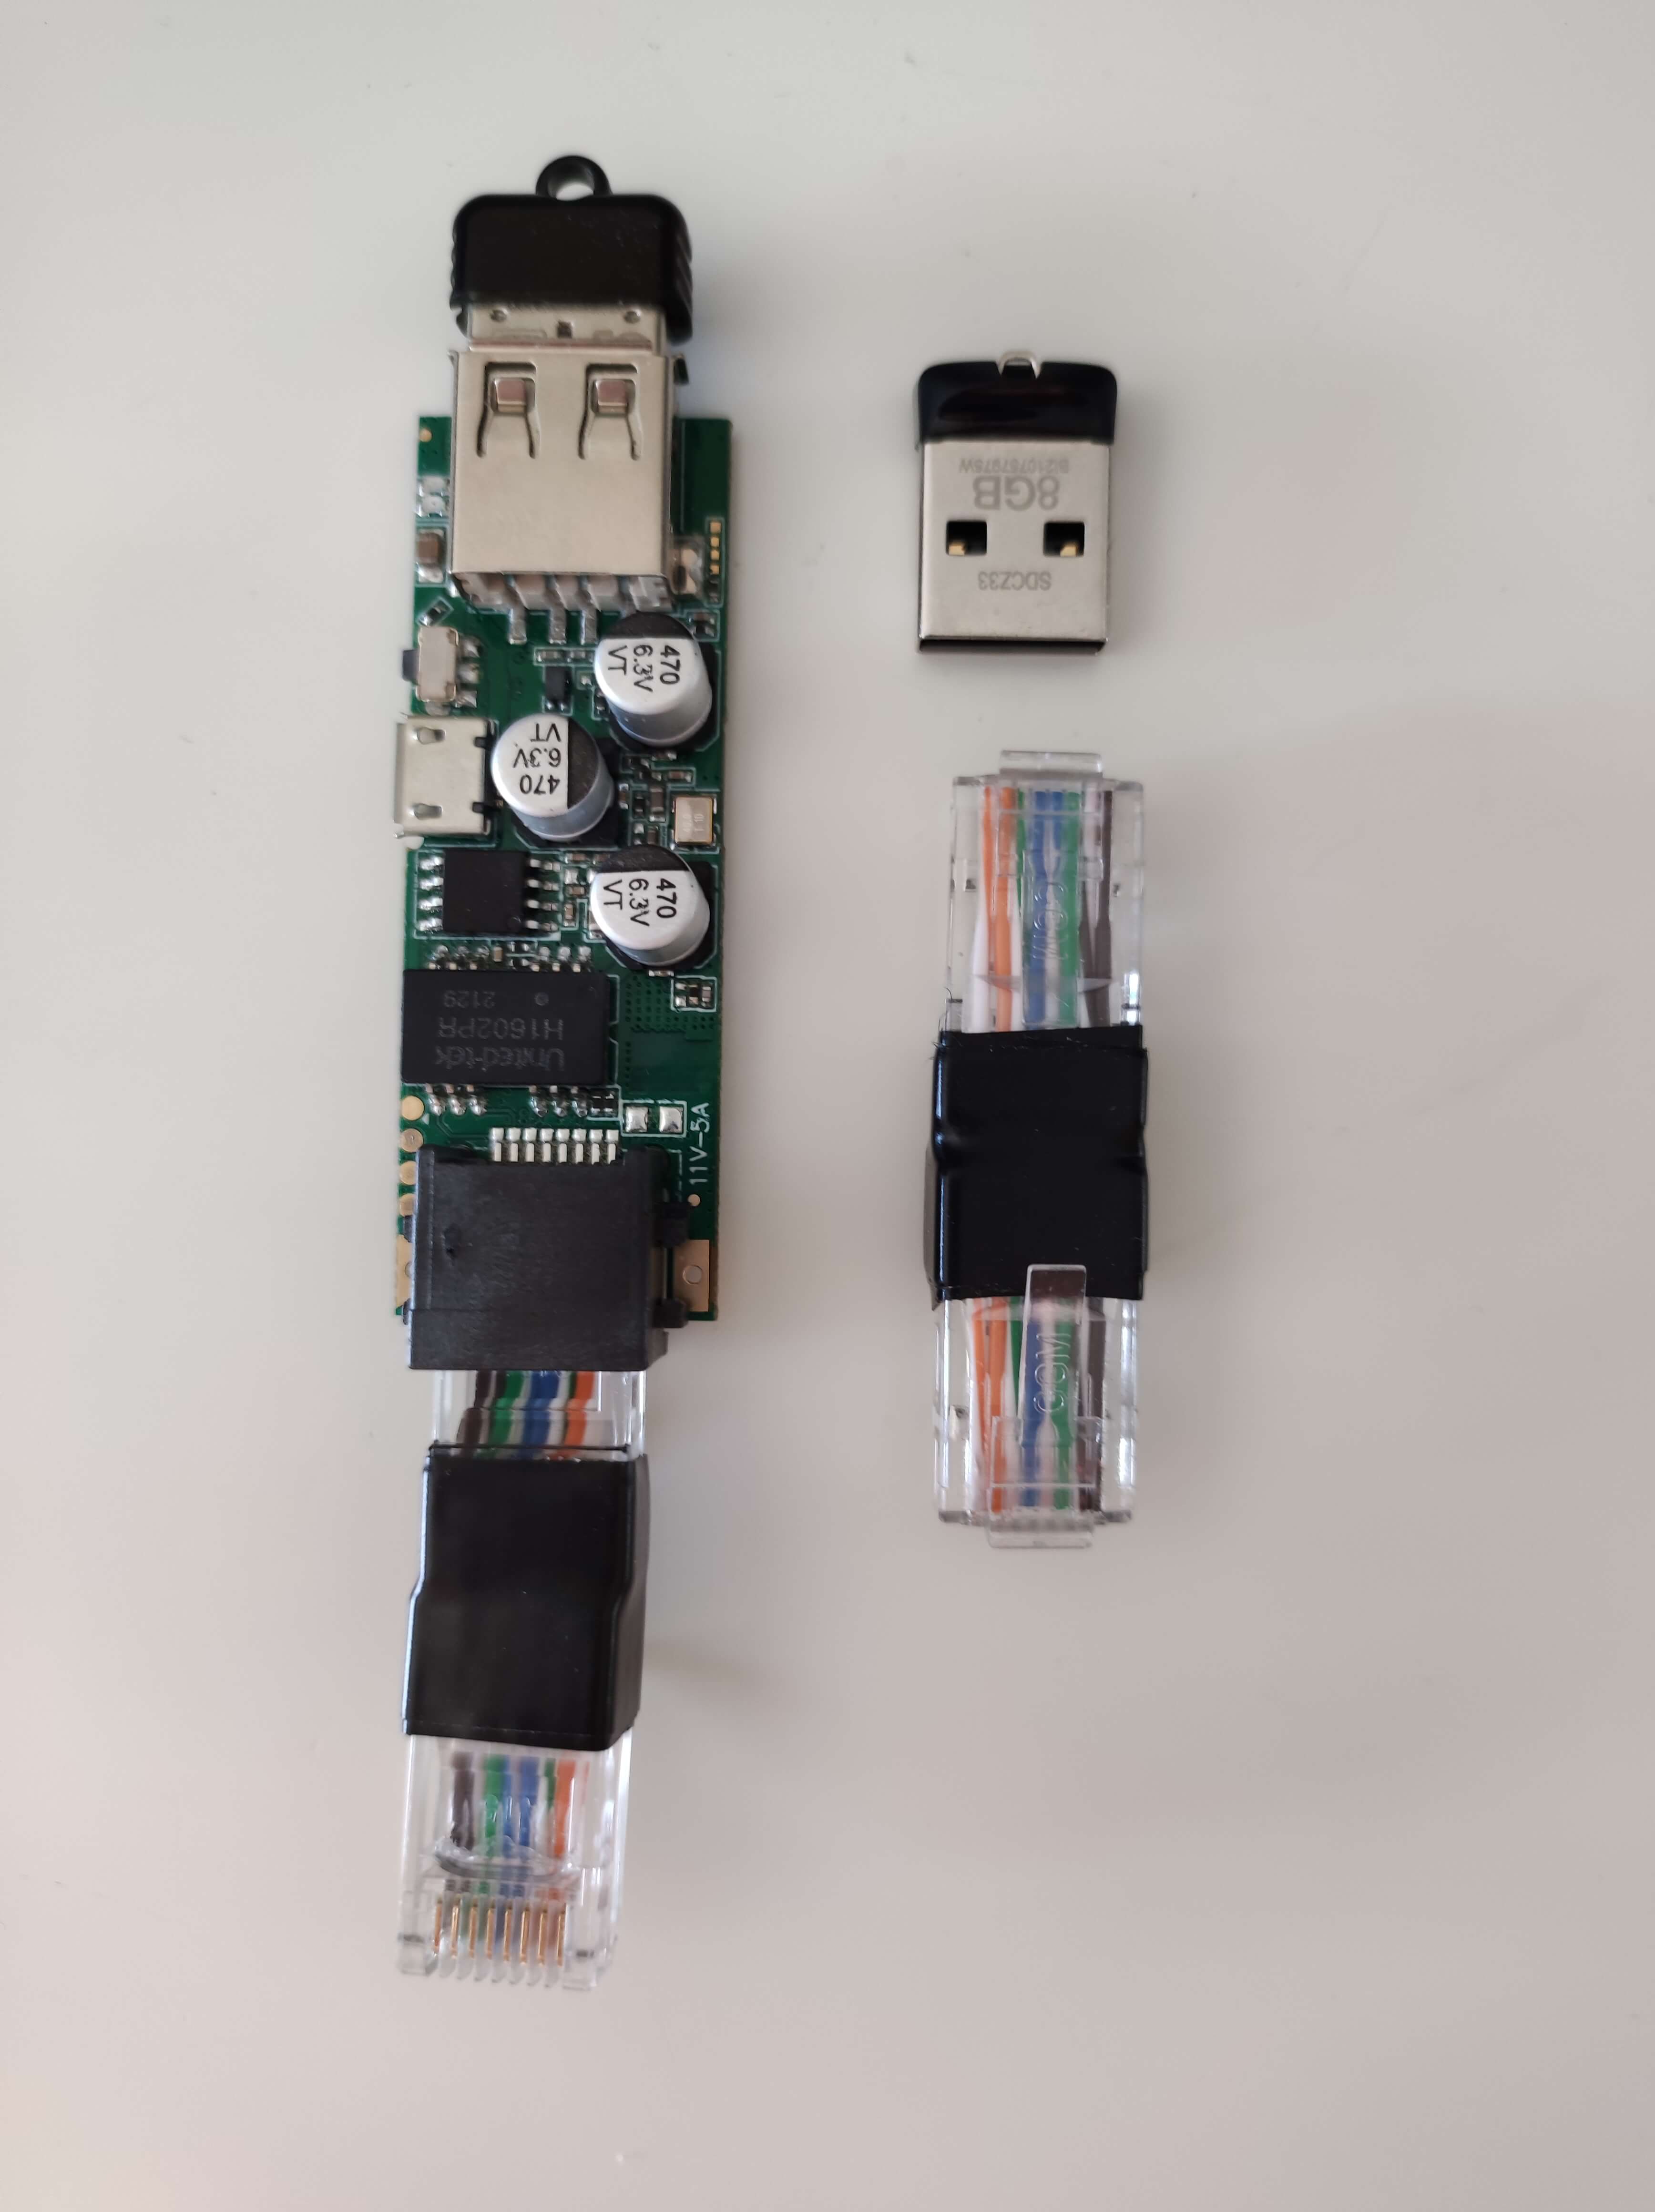
Again, as I earlier mentioned, do not forget to turn on the router with the USB drive plugged into it. Turn on the router for the first time, wait 1 to 2 minutes and then reboot. The partition should then be extended. When it will boot for the second time, you will also need to connect the device to the internet to get missing packages installed on it.
Congratulations! You just created your JabberJaw firmware! The firmware is by default located under the bin/targets/ramips/mt7620/ directory.
The next step is to install the firmware in our router. To do this, send the firmware over using SCP as an example, and connect to it using SSH to use the sysupgrade command.
scp bin/targets/ramips/mt7620/openwrt-18.06.9-ramips-mt7620-wmr-300-squashfs-sysupgrade.bin [email protected]:/tmp/
ssh [email protected]
cd /tmp
sysupgrade -n openwrt-18.06.9-ramips-mt7620-wmr-300-squashfs-sysupgrade.bin
Ok! now it's time to test. Connect your device to a switch. The default payload should be executed automatically and the LEDs on your device will blink intensively if done correctly. Once the LED's stop blinking, it means that the payload execution has finished.
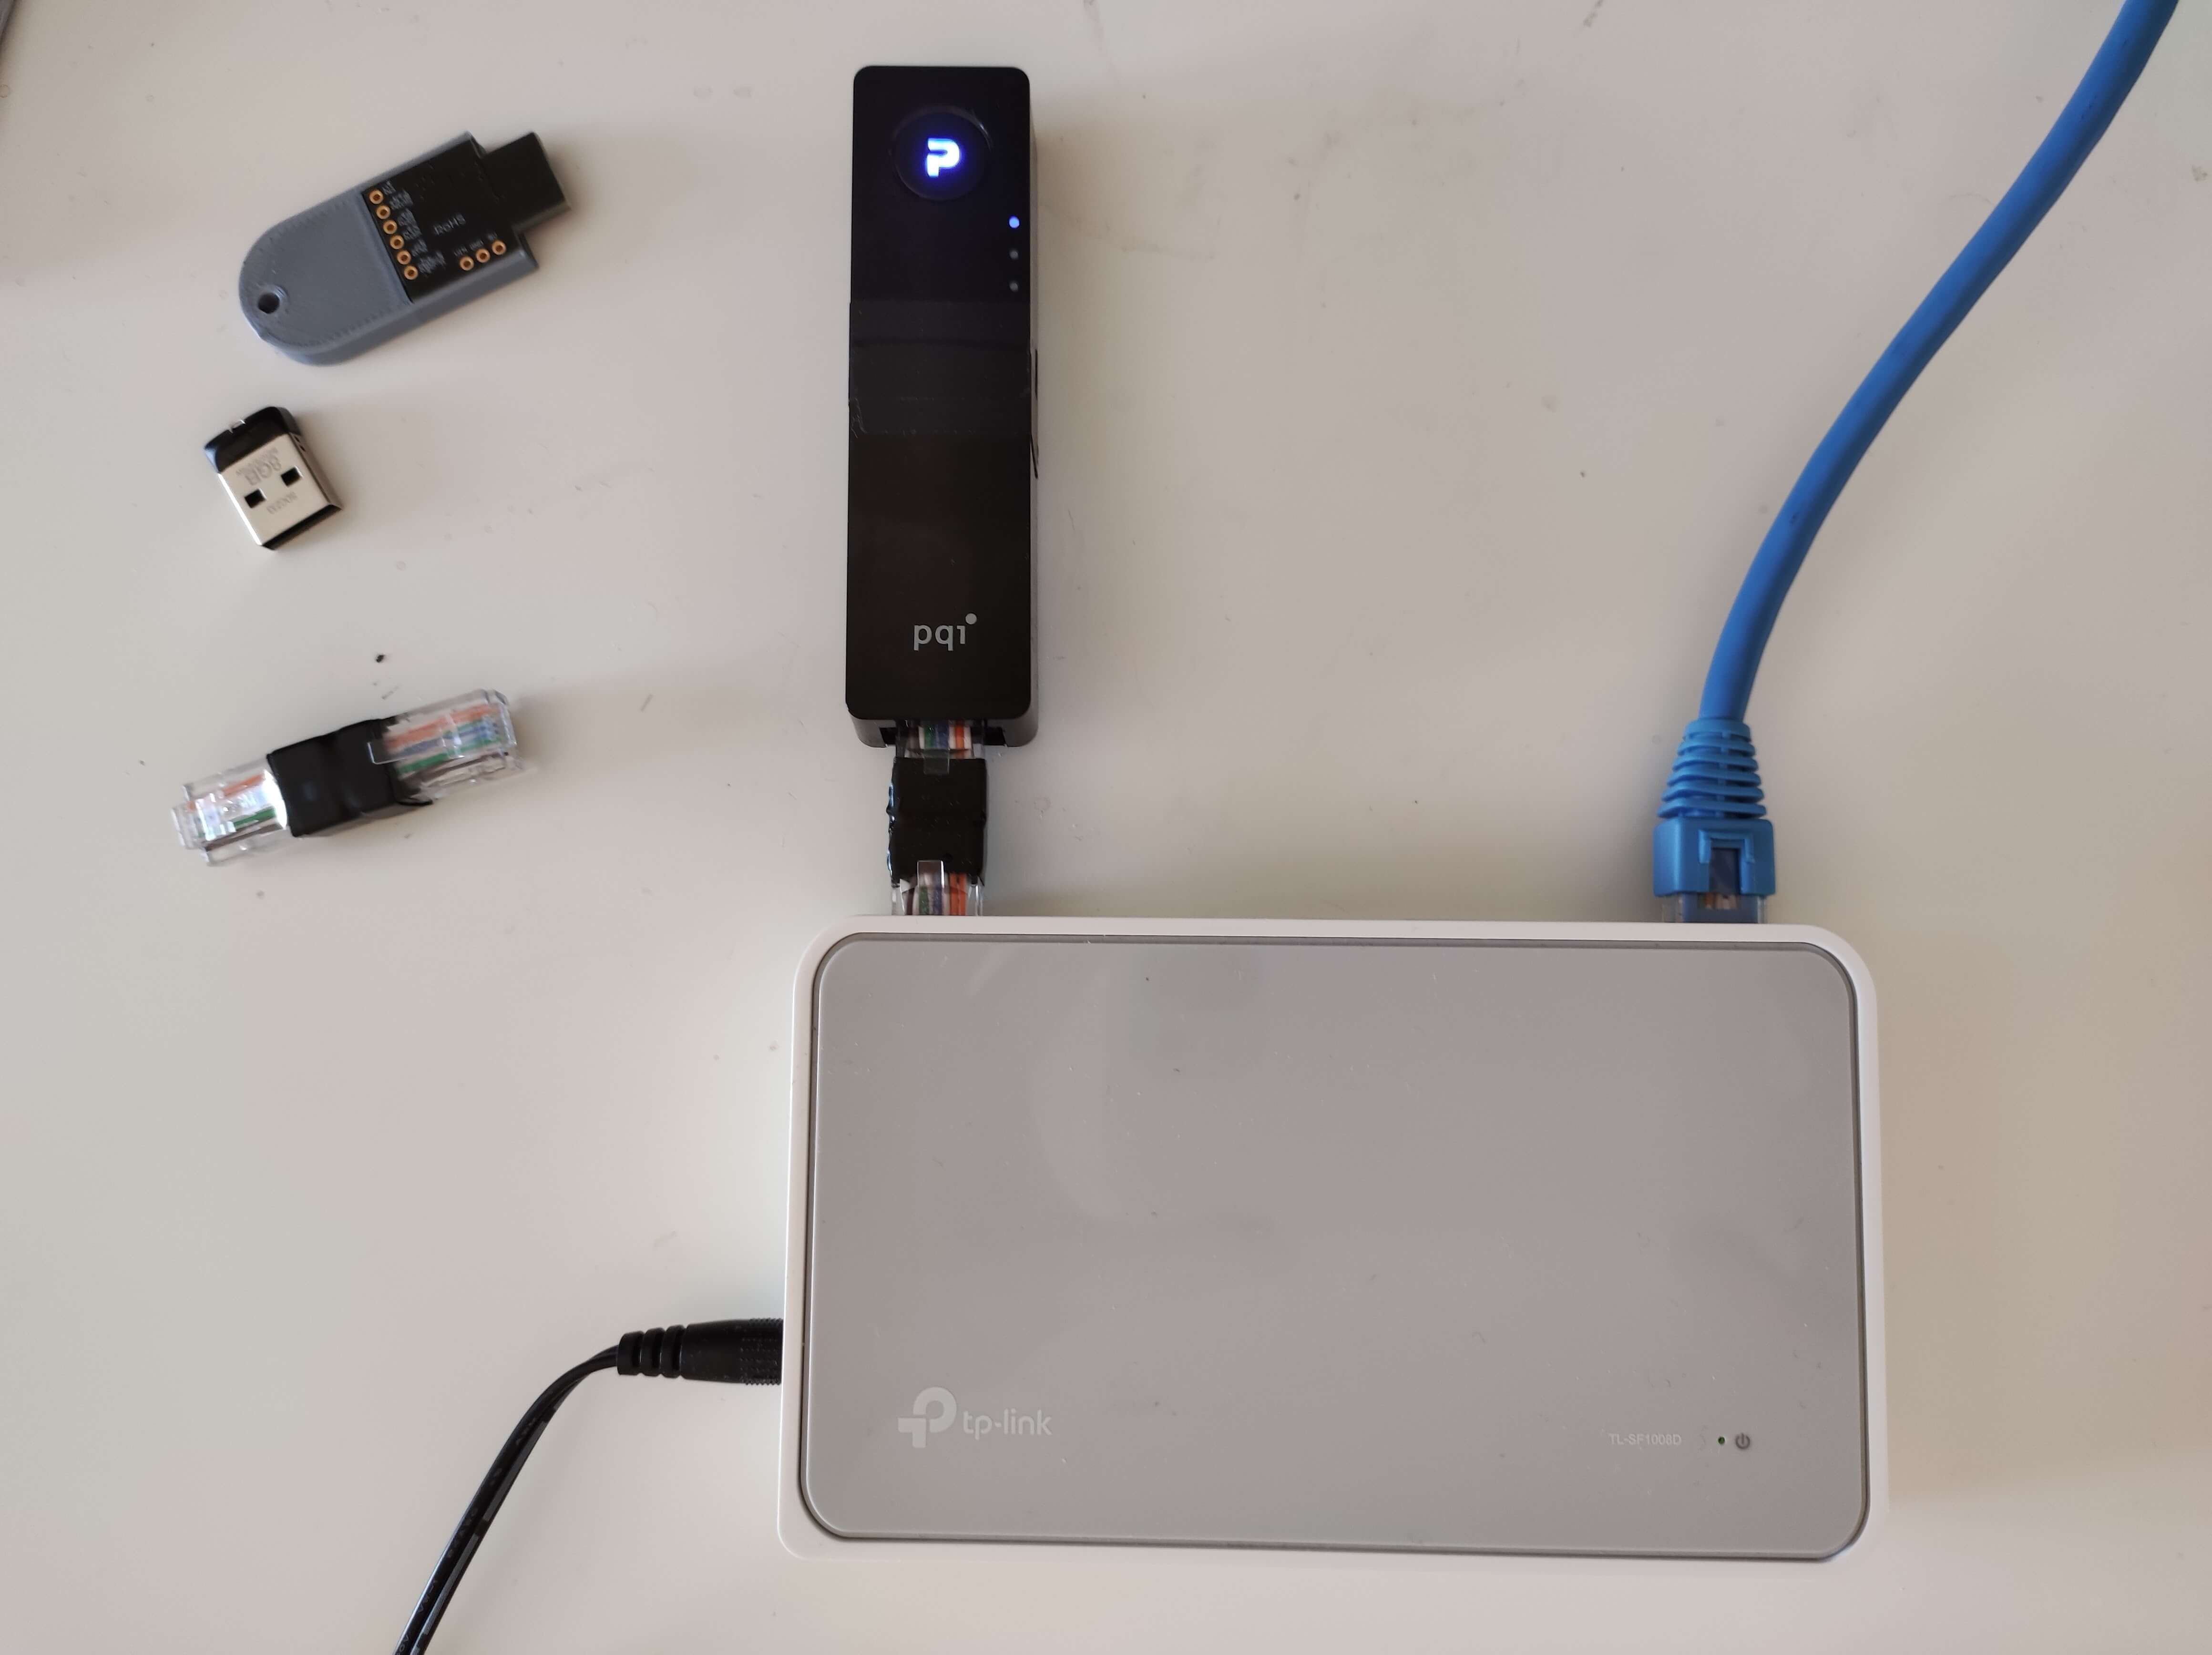
Let's see what we have now!
To access the information or loot obtained from your engagements, (AKA arming mode) you need to connect the device using WiFi. When your device is on, you will see a SSID called JabberJaw, the password is also jabberjaw. Connect to it using SSH. The default IP address is 172.16.24.1 and the SSH password is... jabberjaw.
Note: the Shark Jack payload by default stores the information/loot obtained in the /root/loot/nmap/ directory.
ssh [email protected]
[email protected]'s password:


BusyBox v1.28.4 () built-in shell (ash)

                 ^`.                     o
 ^_              \  \                  o  o
 \ \             {   \                 o
 {  \           /     `~~~--__
 {   \___----~~'              `~~-_     ______          _____
  \                         /// a  `~._(_||___)________/___
  / /~~~~-, ,__.    ,      ///  __,,,,)      o  ______/    \
  \/      \/    `~~~;   ,---~~-_`~= \ \------o-'            \
                   /   /            / /
                  '._.'           _/_/
                                  ';|\
 ---------------------------------------------------------
 JabberJaw 1.0.3, Necrum Security Labs, (2021/11/28)
 ---------------------------------------------------------
root@JabberJaw:~# cat /root/loot/nmap/nmap-scan_1.txt
# Nmap 7.70 scan initiated Fri Nov 26 23:05:58 2021 as: nmap -sP --host-timeout 30s --max-retries 3 -oN /root/loot/nmap/nmap-scan_3.txt 192.168.1.0/24
Nmap scan report for 192.168.1.1
Host is up (-0.20s latency).
MAC Address: 60:a7:30:78:11:d9 (Tp-link Technologies)
Nmap scan report for 192.168.1.5
Host is up (0.059s latency).
MAC Address: 96:a0:f6:9d:1c:41 (Netgear)
Nmap scan report for 192.168.1.116
Host is up (0.010s latency).
MAC Address: 70:31:3a:62:e3:21 (Tp-link Technologies)
Nmap scan report for 192.168.1.117
Host is up (0.010s latency).
MAC Address: 3d:06:80:64:00:2b (Tp-link Technologies)
Nmap scan report for 192.168.1.124
Host is up (0.0074s latency).
MAC Address: 99:d3:98:de:2b:db (Tp-link Technologies)
Nmap scan report for 192.168.1.168
Host is up (0.010s latency).
MAC Address: 39:e4:99:39:d5:e4 (Unknown)
Nmap scan report for 192.168.1.183
Host is up (0.010s latency).
MAC Address: 1a:6e:85:e5:93:41 (Unknown)
Nmap scan report for 192.168.1.193
Host is up (0.010s latency).
MAC Address: 7e:a7:02:de:b2:21 (Unknown)
Nmap scan report for 192.168.1.239
Host is up (0.020s latency).
MAC Address: 1d:7c:c1:f1:f9:99 (Unknown)
Nmap scan report for 192.168.1.186
Host is up.
# Nmap done at Fri Nov 26 23:06:07 2021 -- 256 IP addresses (10 hosts up) scanned in 9.07 seconds
root@JabberJaw:~#
Cool right?
And the good news is that all the payloads created by the Shark Jack community are compatible with JabberJaw. I think this will give you the time to have some fun experimenting with 😏. I do highly encourage users to use these sort of devices for approved penetration tests and engagements as well as educational purposes only.
Update: Video PoC Added.
By the way I forgot to mention, but if there are some points that remain unclear for you throughout this blog, please feel free to contact me or by simply creating an issue on GitLab and I will try to help you.
Anyways that's it for today! Thanks for reading!
Oh, and a little spoiler! I'm currently working on a multi-compatible version of another Hak5 device, the Packet Squirrel! I already have a promising beta version which I should finish developing soon. So if you are interested stay tuned!
If you enjoyed this article, you might also like this one. Learn how to build your own WI-Fi Pineapple Tetra:
https://samy.link/blog/build-your-own-wifi-pineapple-tetra-for-7
Also please feel free to follow me on twitter @0xSamy_